We may receive a commission on purchases made from links.
Have you ever found yourself after a party or gathering with more plastic party cups then you know what to do with? Sure, you can trade in your usual drinkware for these disposable cups until you’ve used up the supply, but that’s not your only option. Instead, take a reduce-reuse-recycle approach and easily repurpose any leftover cups, using them in your garden as small planter pots. All you need to accomplish this transformation is a vegetable peeler.
Making your own
simple DIY nursery pots
is a great way to save both time and money, and with their durability and size, cups like the
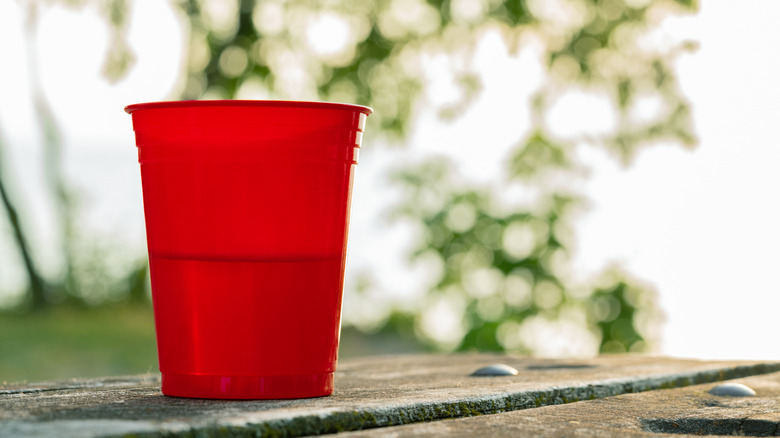
Hefty Party On red plastic cups
are a great place to start. However, because these disposable vessels are meant to hold your drink — as opposed to leak it everywhere — they lack the drainage holes that many seedlings or small plants require for healthy growth. That’s where a vegetable peeler comes in handy. By using this common kitchen tool you likely already have on hand, you can quickly add drainage holes to your plastic cups, transforming them into the perfect, reusable nursery pots.
When taking on this DIY yourself, make sure to safely handle the vegetable peeler. Although small, the blades on peelers can lead to cuts or other injuries if misused. While holding a cup steady with one hand, make sure you’re holding it far enough from the base to avoid injury.
Read more:
Repurpose These Household Staples For Fun And Easy Garden Decor
Create Drainage Holes In Plastic Cups Using A Vegetable Peeler
Whether you choose to display your plants in a
DIY upgraded decorative Dollar Store plastic planter
or sow them directly into your garden, there are plenty of ways to show off the plants you poured so much time and effort into. Plastic cups are designed to withstand liquid, making them perfect for frequent watering, and they’re easy to transport as needed. They can also be effortlessly cut away when it’s time to transplant, reducing the risk of root damage. The only things plastic cups lack right out of the packaging are drainage holes, which are easily added using the vegetable peeler.
To create the drainage holes, you can use either a straight or julienne peeler. Most people demonstrating the technique on social media use a julienne peeler, which may be easier to control given its shape and wide, pivoting blade. With your peeler in hand, all you need to do is quickly create two slits on the edges at the bottom of each cup to make the perfect pot out of a
repurposed household staple for fun and easy garden decor
. In general two slits will be plenty, but you could always add one or two more.
If you find the slits aren’t large enough and water is still pooling, you can easily go back and make the slits larger. To do so, simply go over the original slits with the peeler again. Just make sure to leave enough of the cup intact to maintain stability — while drainage is important, you don’t want to cut away so much that your cup can’t support the weight of the soil.
Read the
original article on Outdoor Guide
.


