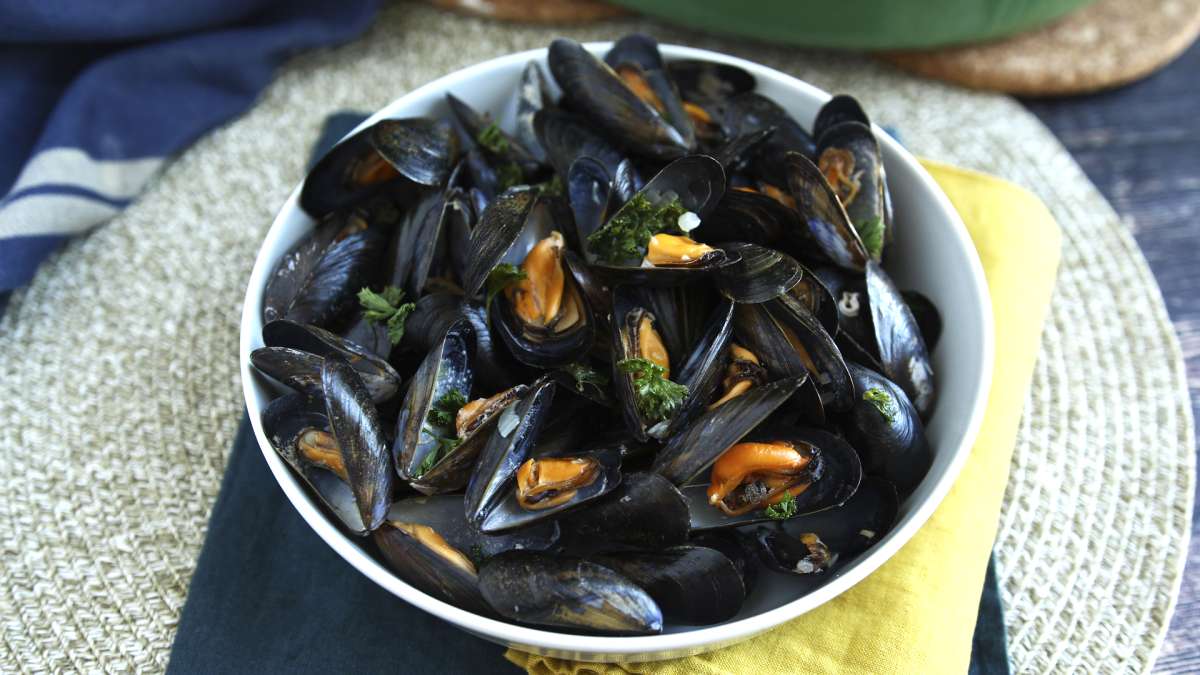
Preparing Mussels: A Simple Guide to Cleaning and Cooking
Mussels are a versatile and delicious addition to any meal, whether you’re serving them as an appetizer or a main course. They cook quickly, add a rich flavor, and can be prepared in a variety of ways. However, before they hit the pan, there’s one step that often feels more challenging than it is—cleaning them. If you’ve ever looked at a pile of mussels and wondered what to do next, you’re not alone. The good news is that cleaning mussels doesn’t have to be complicated. With a few simple steps, you’ll have perfectly clean mussels ready for cooking.
Step 1: Inspect Before You Rinse
Before you start scrubbing, take a moment to inspect your mussels. This initial check is crucial for ensuring only the freshest and safest mussels make it into your dish. Mussels from the market are usually farmed and free from grit, but a quick soak in cold water can help refresh them and give you time to sort through the batch.
Use this time to identify any mussels that might not be suitable for cooking. Discard any with cracked shells or those that remain open even after a gentle tap. If a shell doesn’t close, it means the mussel is dead and should not be eaten. This step acts as your personal quality control, ensuring only the best mussels end up on your plate.
Step 2: Scrub the Shells
Even though you won’t eat the shells, it’s important to clean them properly, especially if you plan to use the cooking liquid later. Under cold running water, use a stiff-bristled brush to scrub each mussel. This helps remove any slime, bits of algae, or debris that may be clinging to the surface.
You don’t need to go for perfection here—just a thorough cleaning to avoid unwanted grit or murk in your pot. Once a mussel is cleaned, place it in a separate bowl to keep it away from the ones still waiting their turn. This small step can make a big difference in both flavor and presentation.
Step 3: Remove the Beard
One of the most common concerns when cleaning mussels is the beard, also known as the byssus. This tough little thread sticks out from the shell’s seam and is used by mussels to anchor themselves underwater. While it’s harmless, it can be chewy and is best removed before cooking.
To remove the beard, hold the mussel firmly and pull the thread toward the pointed end of the shell. Avoid pulling outward, as this can damage the meat. For stubborn beards, you can use tweezers or a blunt knife. Don’t worry about removing every single strand—just focus on the most visible ones that could affect the texture.
Time to Cook!
Cleaning mussels isn’t as intimidating as it seems. With cold water, a bit of patience, and these three simple steps, it will become just another part of your kitchen routine. No more worries about steel wool or boiling water—just clean, fresh mussels ready to be cooked.
Once they’re prepped, the possibilities are endless. Try steaming them with bay leaf and lemon, simmering them in garlic and white wine, tossing them into a seafood stew, or dressing them in coconut milk and lime for a Thai-inspired twist. No matter how you choose to prepare them, you’ll be ready to enjoy a delicious and flavorful meal.


